● Ensure that the installation surface is flat, smooth, and firm. If the surface is not flat, it needs to be leveled or replaced to avoid unstable installation or hindered movement of the guide rails.
● Install the guide rail brackets according to the design requirements. The guide rail brackets can be fixed on the machine or equipment, or fixed on the ground. Ensure that the brackets are strong, stable, and able to support the weight and motion load of the guide rails.
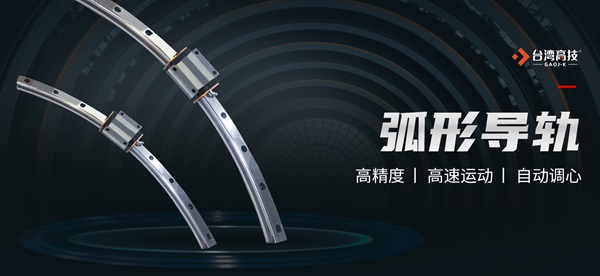
● Install the curved guide rails on the guide rail brackets, ensuring a tight and stable connection between the guide rails and the brackets. Choose the appropriate connection method and fasteners, such as bolts, dowel pins, etc., according to the length and span of the guide rails.
● After the installation is complete, check the position and straightness of the guide rails. If necessary, use adjustment shims or screws for fine adjustment to ensure the accurate positioning and good linearity of the guide rails.
● After confirming the correct installation of the guide rails, conduct a test run. Observe whether the motion of the guide rails is smooth and vibration-free, and check whether the accuracy and repeat positioning accuracy of the guide rails meet the requirements. If necessary, make adjustments and optimizations.
The above are the steps for preparing the installation of curved guide rails. However, in actual operation, adjustments and optimizations may need to be made according to specific equipment and application conditions. If you have any other questions or purchasing needs, please feel free to contact us for consultation!


